Introduction
This blog covers my experience setting up the Haply device, running the example code and designing my own maze to work with the device.
Setting up
The initial setup was fairly easy given the lecture video recording and the detailed write-up on the ‘How-To: Haply’ page. My only challenge here was finding the right ‘Hello Wall’ example: the minimal one on the Haply site or the more aesthetic one in the GitHub repository. Since they both serve the same purpose, however, this was just a minor hiccup.

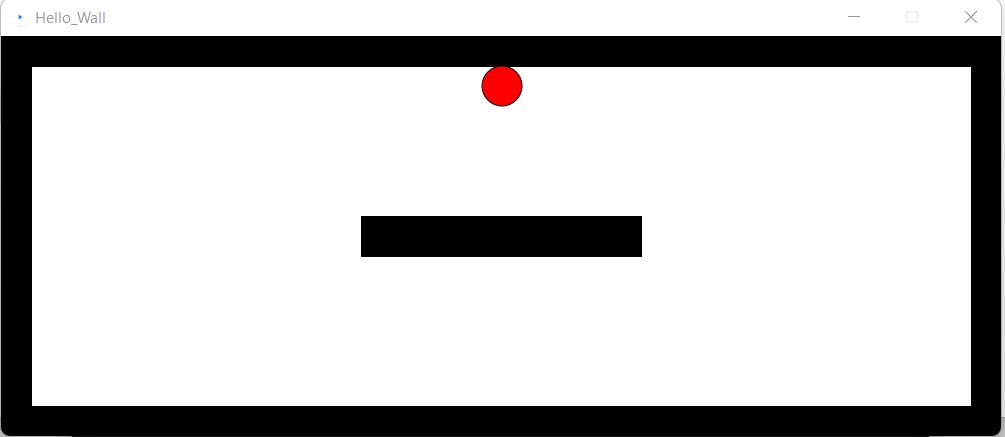
I also tried out the other examples on the Haply website, and played around with the shapes and other parameters to figure out what was happening. I was drawn in by the modified Fisica library examples and given its quite detailed documentation, decided to use it for building my maze.
Designing the maze
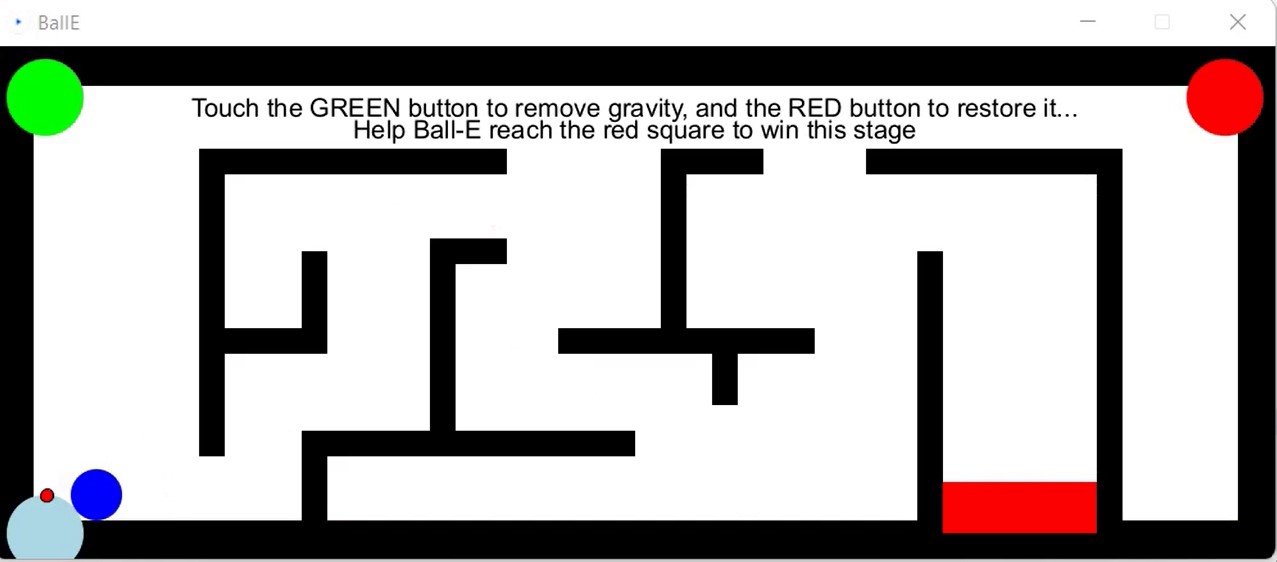
As I was playing with the Maze(Fisica) example and becoming increasingly frustrated with the square slipping off and back into the water as I tried to lift it over the obstacle, I just knew what I wanted to do for my maze. Instead of making an ordinary maze, I decided to add in the feature to activate and deactivate gravity- this would make things easier for the user and yet somewhat different and exciting (at least, in my opinion).
Ironically, the Maze(Fisica) example code was the first thing I looked at for inspiration on how to implement this. The buttons implemented there made things much simpler to get started and I used a similar format in my layout, making modifications to enable a gravity change when activated. I also added an ‘Info/Help’ button to help the user access the instructions on how things worked.
Then, after painstakingly implementing a maze using polygons on Processing, while also making sure I left enough gaps at the top to allow easy access to the buttons, I had my maze (or the first part of it!).
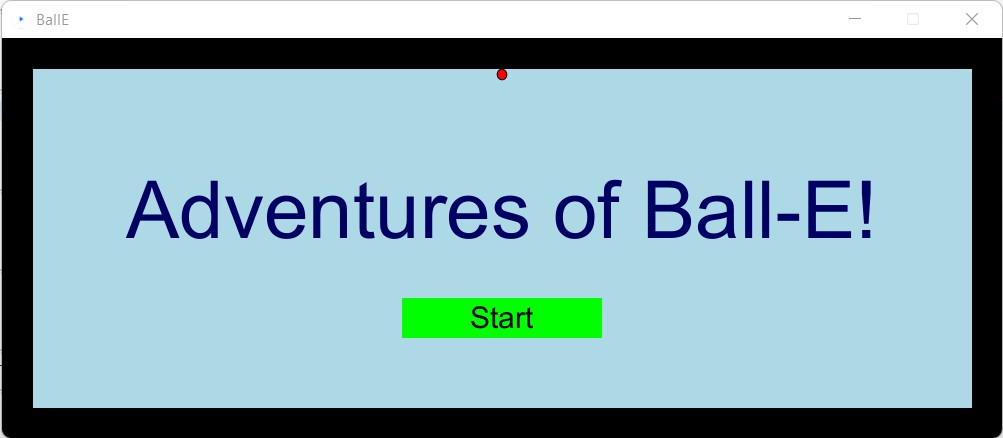
I also decided to wrap up the whole thing in a game-like format.
By this point, I was enjoying myself a fair bit and decided to also implement a second level- a maze of sorts with teleportation. This involved making multiple buttons of the kind I had for the gravity level and triggering them when the ball touched them. I indicated the point the ball would reappear after ‘teleportation’ by a similarly coloured button but realized that it could get confusing to figure out which the entry and exit point was. At this stage, there were a few design options I considered:
- Make the entry and exit buttons look different- but this would need a longer explanation to the user.
- Make both sides both entry and exit points- but this would result in an endless loop unless I introduced a delay to triggering in some way or shifted the ‘reappear point’ of the ball a little away from the button.
- Make the exit points normally inaccessible- this seemed like the easiest of the three to implement and so I opted for this one.
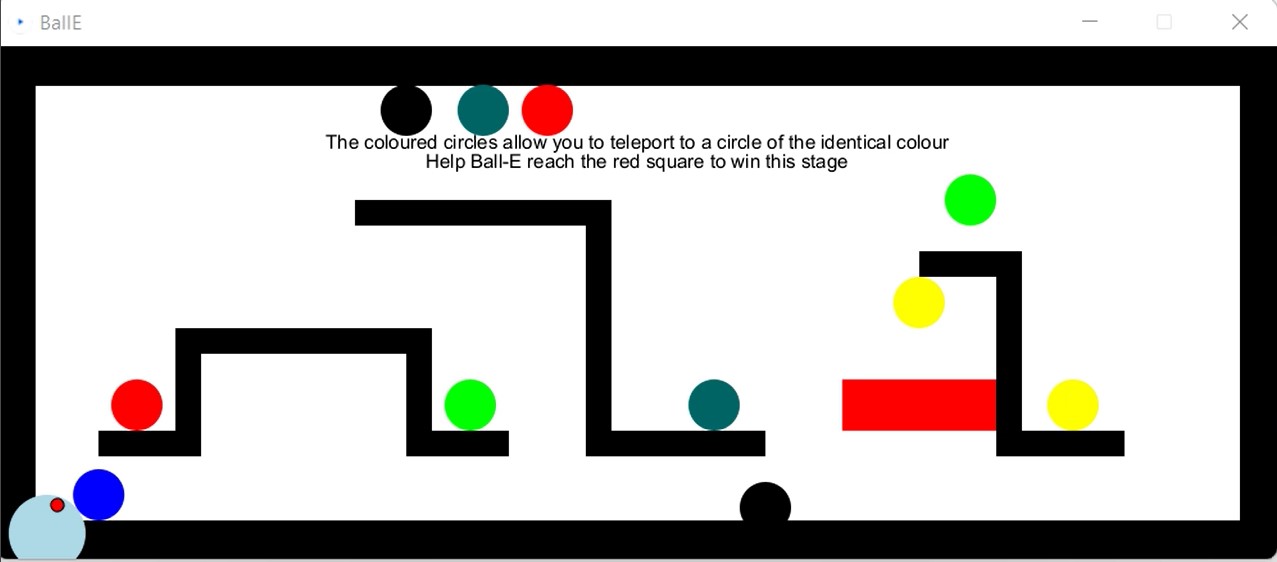
Now that this was done, I played the maze to test it out and encountered my second major problem with this scene. When the ball dropped from one of the three teleportation exits at the top, the acceleration of the ball made it reach the entry of a portal (mostly the wrong one given the way the layout is shaped) endlessly going in a loop between the portals. Again I had a few alternatives to fix this, including changing the shape of the polygons. But (having had what felt like a lifetime’s worth of drawing polygons!) I went through the Fisica documentation again. This time I found setAngularDamping function for the Fisica body method which would do the job just as well as long as I damped the acceleration of the ball just enough to avoid such looping- which is exactly what I did. And with that, everything seemed to work fine.
Finally, I added an end page as well.
Reflections
Besides the maze itself, I experienced some problems working with the Haply 2diy device. For instance, higher gains gave a nice ‘crisp’ feel right against surfaces, but at the same time, they seemed to (possibly?) make it much easier to destabilize the device. I think it somewhat made sense to me from a control perspective, but I couldn’t quite find much in the way of documentation for this.
With lower gains, I quite naturally felt little resistance going through ‘walls’ until much after I was through them, but my visual end effector position remained stuck against the wall I’d crossed. I don’t believe it took much from the overall experience of my maze, owing to the fact that the objects within the virtual world were still respecting these solid boundaries, but I could see how it would be a show-stopper if it was the end effector being the ‘player’ and not Ball-E as in my case.
That being said, I still thoroughly enjoyed this lab, and although it took a fair bit of time, I now feel much more confident about working with the Haply. If you want to play Adventures of Ball-E yourself you can find the code here: Ball-E Source Code. It is admittedly in need of a clean-up, so I hope using it as is is all you want to do.
If I could go back and do things differently, I wouldn’t underestimate the effort it takes to draw a maze and would do it in a more automated way, rather than doing it manually. I would also read the Fisica library more thoroughly the first time around and save myself a whole lot of grief.
But those are lessons for another day.